FNA Process: Bring the CSV into ArcGIS Pro
Bringing your CSV file back into ArcGIS Pro
After saving your worksheet as a CSV file, you can bring the data back into ArcGIS Pro and join it to your EVT raster.
Step-by-step process
Screenshots of the process are included below the written instructions for those who find them useful.
Import the CSV file into ArcGIS Pro
Open ArcGIS Pro and navigate to the Catalog pane.
Right click on Folders and select Add Folder Connection, then navigate to the location of your CSV file.
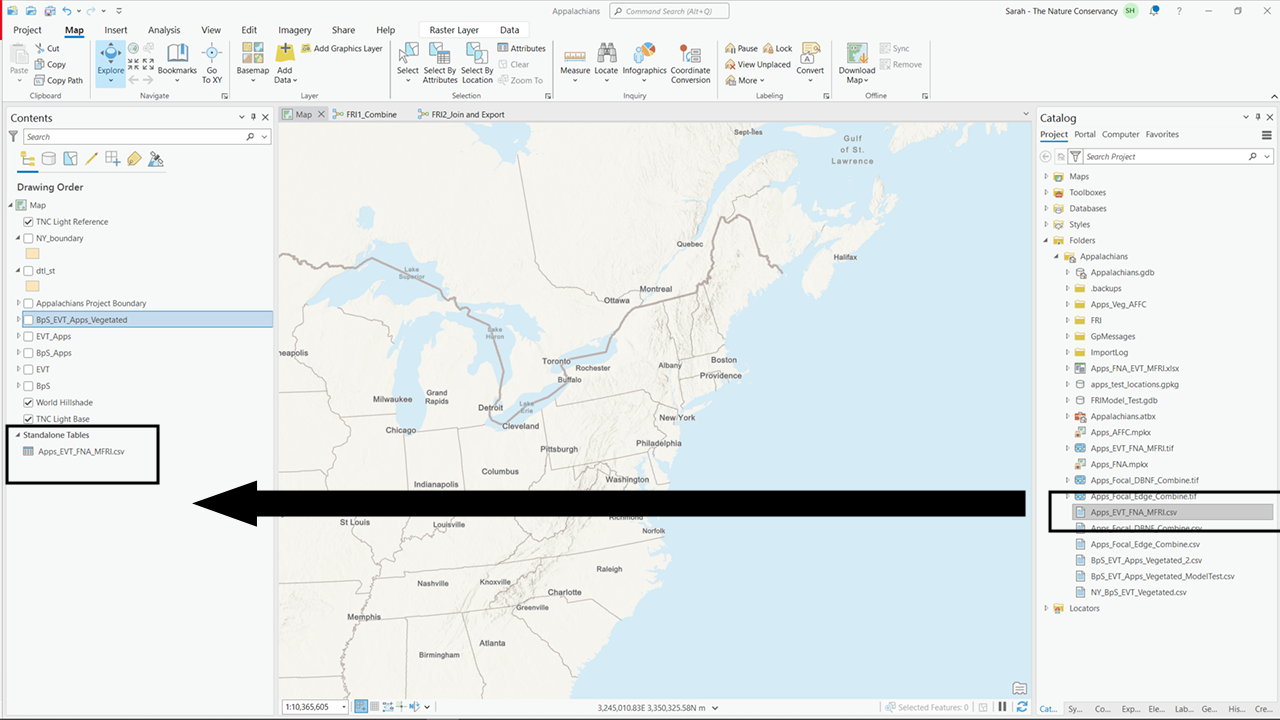
Drag the CSV file into your project.
Join the CSV data to the EVT raster
- Use the Join Field tool found in the Data Management toolbox under Joins and Relates.
For the input table, select your masked EVT raster.
For the input field, select the EVT name field.
For the join table, select your imported CSV file.
For the join field, select the EVT name field in the CSV file.
Transfer the fields for average FRI, acres, and acres burned per year.
- Use the Join Field tool found in the Data Management toolbox under Joins and Relates.
Display the EVT raster You can now display the EVT raster based on the average FRI or the acres burned per year field. This allows you to visually compare it to the BPS raster and analyze historical vegetation needs based on historical vegetation and fire regimes.
Screenshots for bringing your CSV file back into ArcGIS Pro

Still have questions? LANDFIRE is here to help.
Ask the LANDFIRE Helpdesk (email link).
Search and subscribe to the LANDFIRE YouTube Channel (see tutorials, Office Hours, quick demonstrations).
Join an Office Hour (monthly meeting with open format Q & A with LANDFIRE experts).
Schedule a meeting (email link) with TNC’s LANDFIRE Team.